Notice: Function _load_textdomain_just_in_time was called incorrectly. Translation loading for the gd-system-plugin domain was triggered too early. This is usually an indicator for some code in the plugin or theme running too early. Translations should be loaded at the init action or later. Please see Debugging in WordPress for more information. (This message was added in version 6.7.0.) in /var/www/wp-includes/functions.php on line 6114

Notice: Function _load_textdomain_just_in_time was called incorrectly. Translation loading for the redux-framework domain was triggered too early. This is usually an indicator for some code in the plugin or theme running too early. Translations should be loaded at the init action or later. Please see Debugging in WordPress for more information. (This message was added in version 6.7.0.) in /var/www/wp-includes/functions.php on line 6114

Notice: Function _load_textdomain_just_in_time was called incorrectly. Translation loading for the rocket domain was triggered too early. This is usually an indicator for some code in the plugin or theme running too early. Translations should be loaded at the init action or later. Please see Debugging in WordPress for more information. (This message was added in version 6.7.0.) in /var/www/wp-includes/functions.php on line 6114

Notice: Function _load_textdomain_just_in_time was called incorrectly. Translation loading for the wordpress-seo domain was triggered too early. This is usually an indicator for some code in the plugin or theme running too early. Translations should be loaded at the init action or later. Please see Debugging in WordPress for more information. (This message was added in version 6.7.0.) in /var/www/wp-includes/functions.php on line 6114

Notice: Function _load_textdomain_just_in_time was called incorrectly. Translation loading for the redux-framework domain was triggered too early. This is usually an indicator for some code in the plugin or theme running too early. Translations should be loaded at the init action or later. Please see Debugging in WordPress for more information. (This message was added in version 6.7.0.) in /var/www/wp-includes/functions.php on line 6114

Notice: Function _load_textdomain_just_in_time was called incorrectly. Translation loading for the redux-framework domain was triggered too early. This is usually an indicator for some code in the plugin or theme running too early. Translations should be loaded at the init action or later. Please see Debugging in WordPress for more information. (This message was added in version 6.7.0.) in /var/www/wp-includes/functions.php on line 6114
This DIY Pet Bed is the Cat's Meow - PetsWeekly.com
LOADING

Type to search

DIY

This DIY Pet Bed is the Cat’s Meow

Share
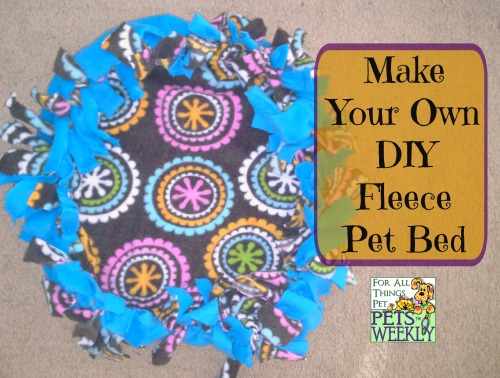
I don’t know about you, but we’re always looking for ways to improve our pets lives. We’re also always on the hunt for new Do It Yourself projects that are fun, creative, and something that just about anyone can do.

That’s why we were super excited to find this DIY Pet Bed. It requires almost no skill to put together, kids can do it for shelter animals, and it’s something that can be done with scraps of fabric – so it’s very inexpensive.

We hope you’ll consider making one of these pet beds not only for your pets, but for shelter pets. Cats in particular love to curl up in this nest of soft fabric, and we think it’s something that the shelters will welcome because they are machine washable and easy to care for.

Here is how you can make your own DIY Pet Bed.

Materials

  • Fabric squares (each bed requires two sheets of squares)
  • Scissors

First, find some fabric that you can live with. You’ll need two squares that are about 1 yard (square) each. You can make them larger or smaller, but if you start with this size, you’ll end up with a bed that is about 2 feet in diameter. (Don’t quote me on my measurements – this is a very “start with a square and hope for the best” kind of project.

Next, place the squares on top of one another. This is tough to explain, so bear with me.

Take out your scissors and cut each corner (literally cutting corners now)

Then cut  1″ strips along every side. These strips should be about six inches long.

Tie off each strand with the strand beneath it and next to it. I know – that doesn’t make a lot of sense, so just take a look at the diagram below. It will look like this:

Once you do this, you’ll see how easily it comes together. When you’re done, you’ll have a bed that looks like this:

The nice thing about this bed is that you can work on them in groups to create a lot of beds in a very short time. If you’re kids are members of scout troops or church groups or any group that focuses on responsibility and caring for animals, you can make these quite inexpensively and then donate them to your local animal rescue to help animals feel a bit more at home during the cold winter months.

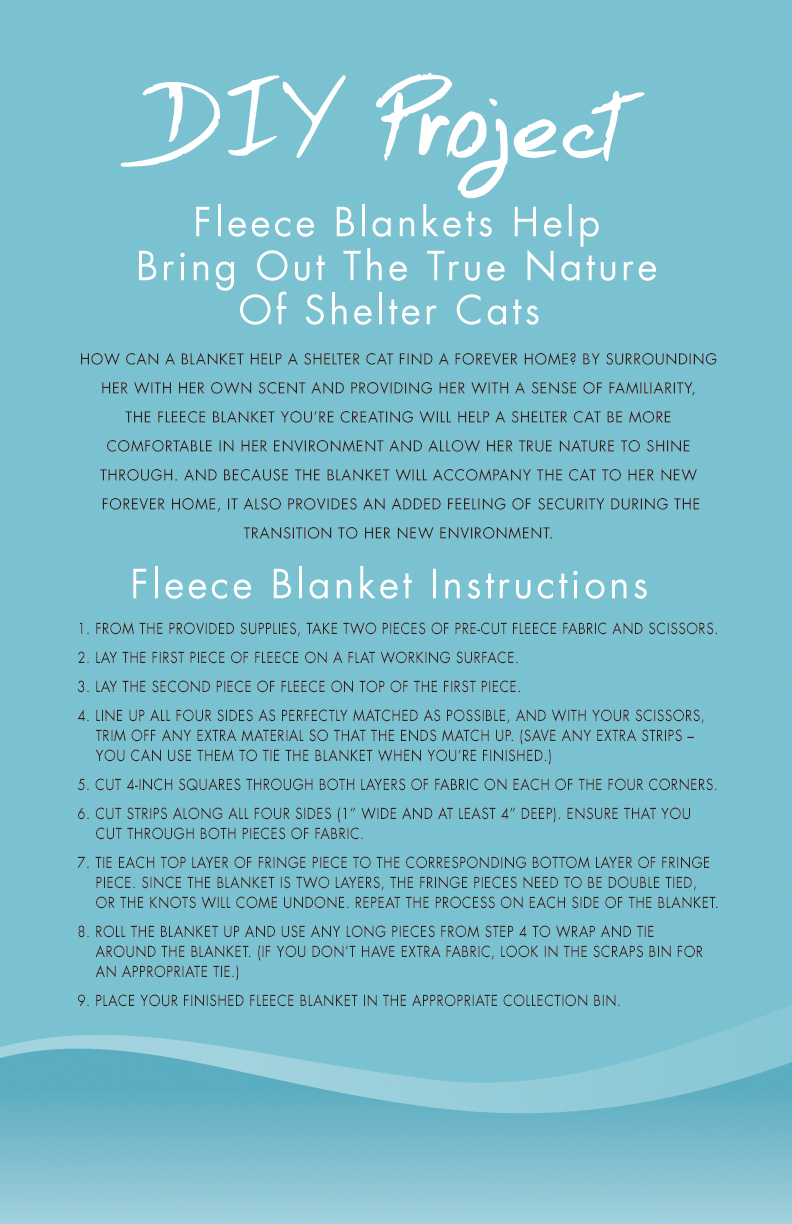
And if you need a printout of how to do this, here are the directions!
Other Articles You May Enjoy:

[load_module id=”531″]
Tags

You Might also Like